ENS app in Gnosis Safe not "automatically connected" after it loads

Hello! I have been testing ENS w/ Gnosis Safe on Rinkeby and Mainnet. There is a problem connecting to the multisig account, and the behavior is not consistent.

I am able to perform some functions such as registration, but not others such as setting the resolver, adding subdomains, delegating, etc. Without a connection, ENS does not display the names held by the multisig, however I am able to get to them using the search function. I am not sure why registration worked (once there was an ETH balance in the multisig) w/o an indication of “connection”.

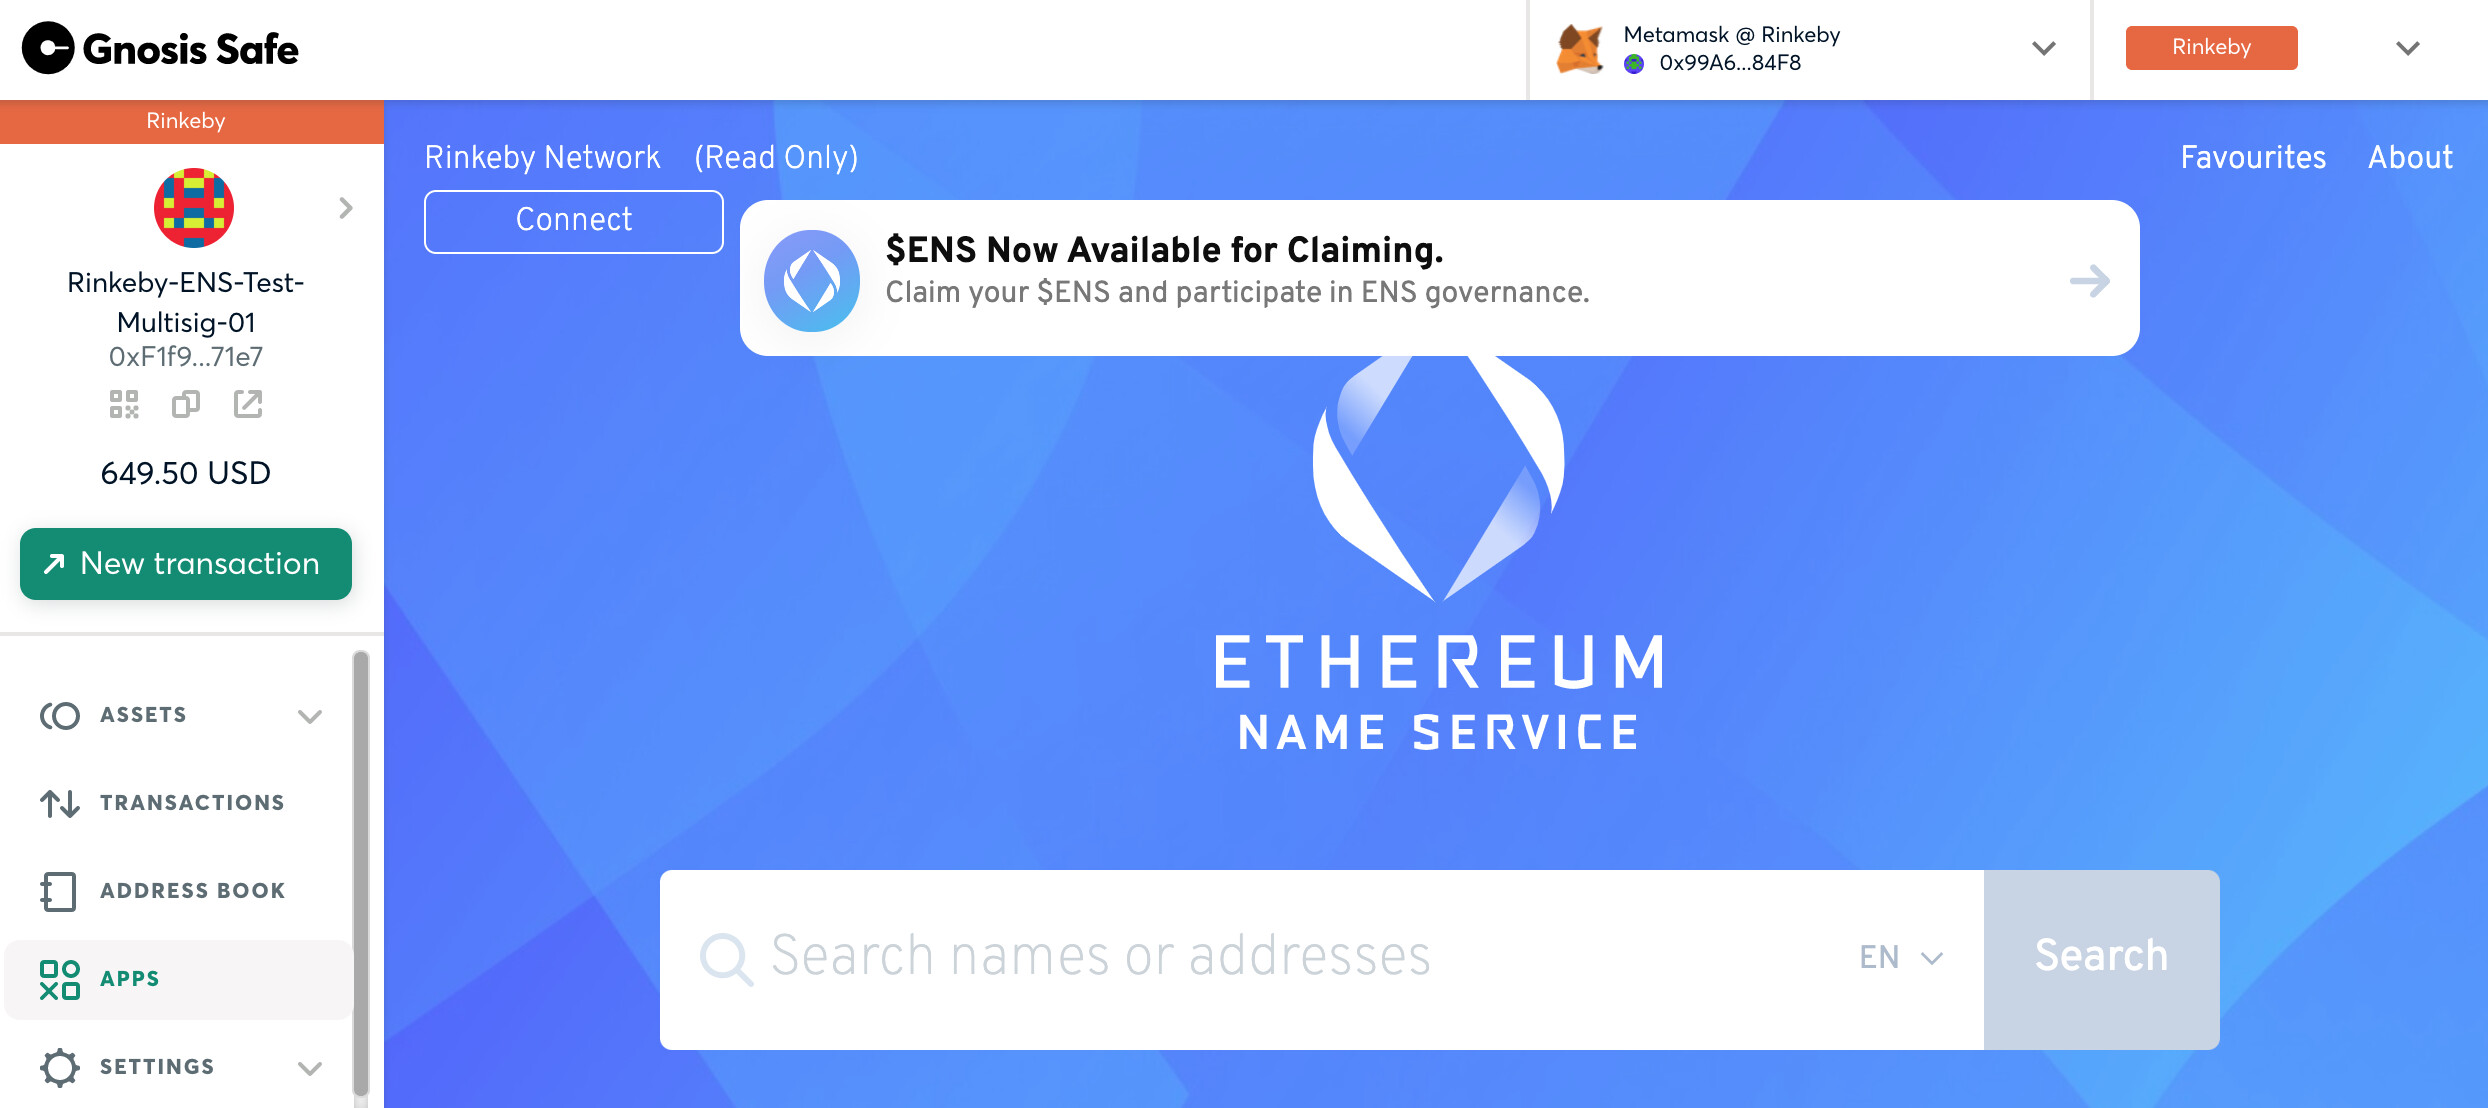
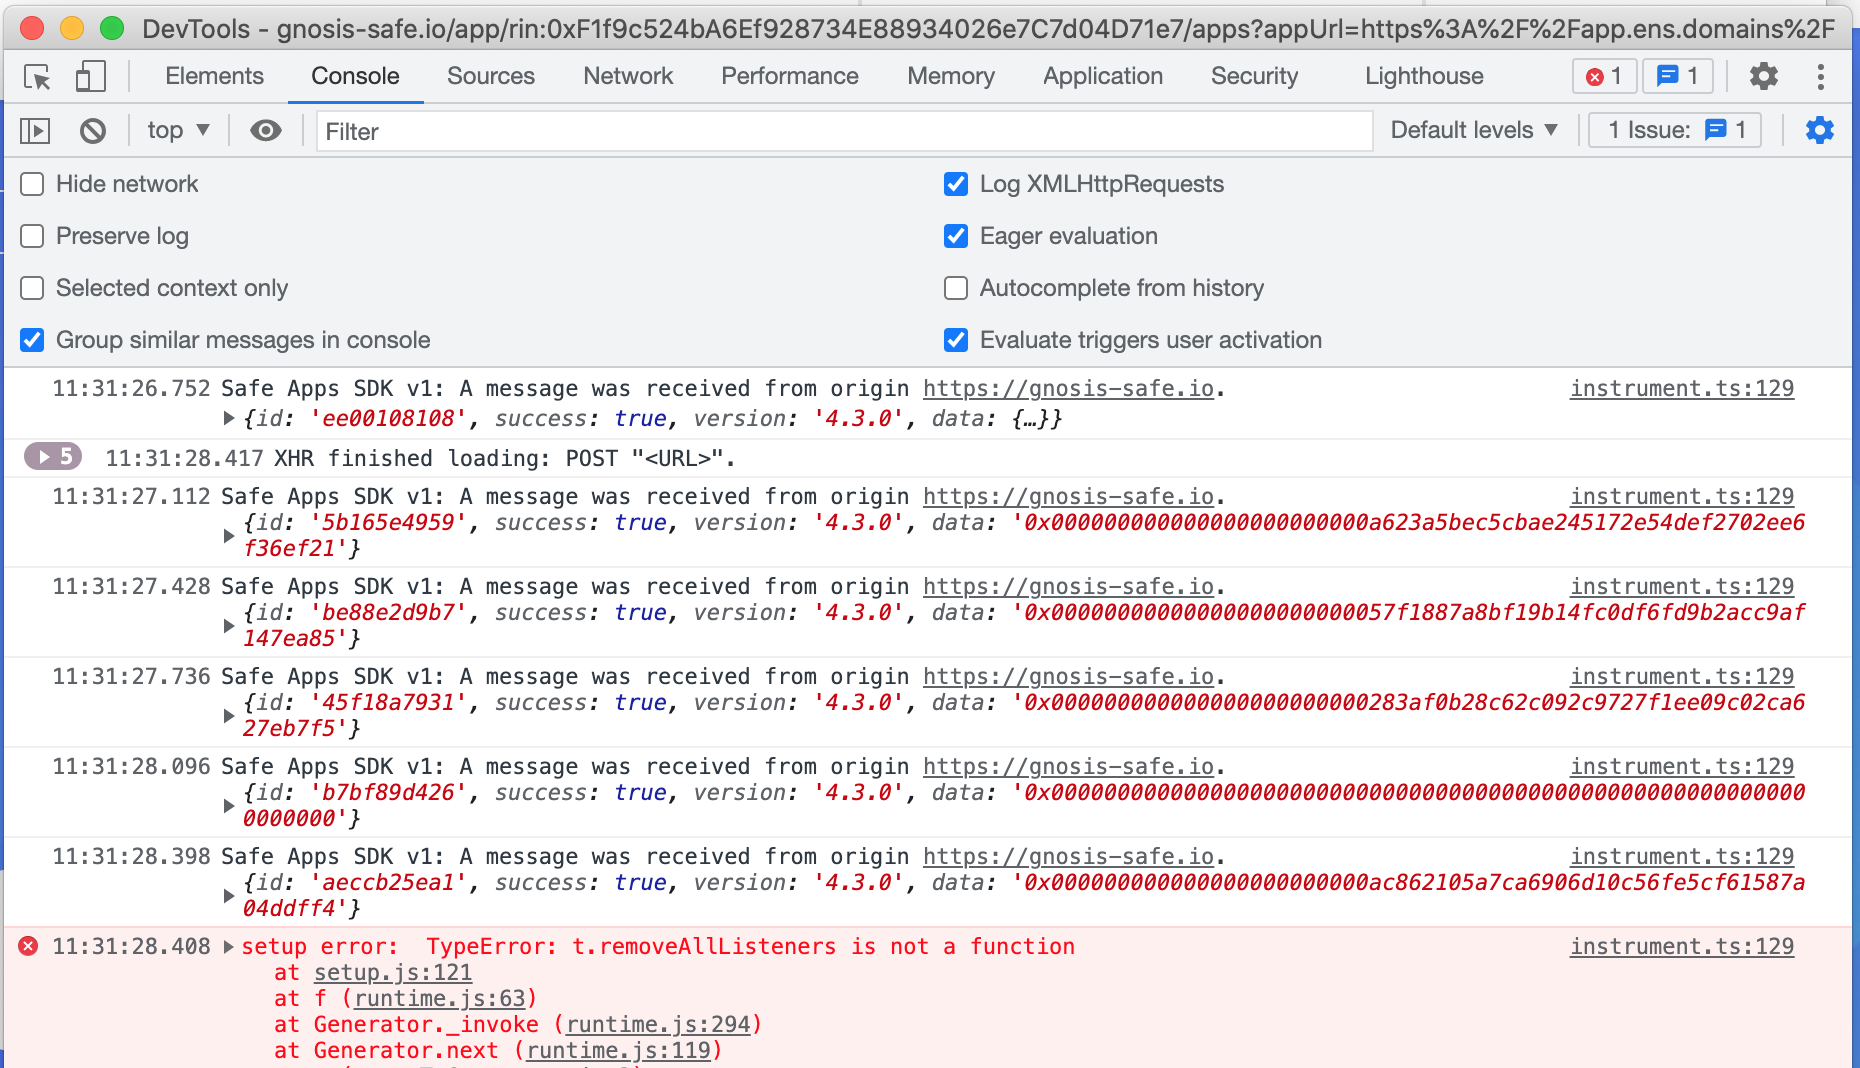
In this screen shot, the context is that I have just entered the ENS app within Gnosis Safe. My EOA is connected via rinkeby, yet the automatic “connection” has not occurred, and clicking on “Connect” does not initiate one. And I found that clicking on “Connect” leads to the following javascript error:

I can register a new name and take screen shots if you need me to demonstrate how the Gnosis Safe ENS app is somehow able to use the multisig account for registrations.

Thanks!

1 Like

This GH-linked account is a new user in this Forum so I’m only able to upload a single screen shot per post.

Here is what I see immediately after clicking on the ENS app in Gnosis Safe Apps. I get the same behavior in my Mainnet setup.

3 Likes

Both the ENS team and Gnosis know about the problem. If you are in a rush there is a tricky way to connect via wallet connect. WalletConnect Sa

2 Likes

Thanks for the tip, I’ll try this workaround @Premm.eth

Ok this worked, and it was quite easy. Thank you!

For anyone arriving here, this is how to do it:


In a new browser tab: Go to the Gnosis Safe App. Load the safe’s address, connect to it w/ your key and select the network (top right).

Click on Gnosis Safe → Side Nav → Apps. Scroll down to the “WalletConnect” app. This will indicate whether a session is active. When it is inactive it will display the following:

In a new browser tab: Go the dapp you want to interact w/ from the multisig. In this case it is ENS (https://app.ens.domains/)

In the dapp, click on “Connect”. Select “WalletConnect” as the connect option.

You will now see a QR code. Screen shot just the content of the QR code. If you’re using a Mac it is probably now copied to clipboard, ready to be pasted.

Go back to the Gnosis Safe tab. Paste the screen shot of the QR code into the WalletConnect grey entry box thing which is asking for it.

After some wheel-spinning, you should now see ENS “Connected” under WalletConnect. And would there be other dapps listed if you connected those too in the same way? Probably.

By pasting this QR code within the context of a connected Gnosis Safe, you have now established a connection the ENS dapp from the multisig, enabling the multisig to make calls to the ENS smart contract.

Go back to the ENS dapp. On the top left you should see that it is connected. Now click on “My Account” and you should see options such as Primary ENS Name (reverse record), a list of ENS names (if any), etc.


Once connected in this way, any ENS dapp interactions will immediately result in a dialog which appears in your Gnosis Safe. You will be asked to sign the txn via Metamask with your key. Next – depending on the required confirmations – a certain number of other keyholders on the multisig will also need to sign this txn.

1 Like